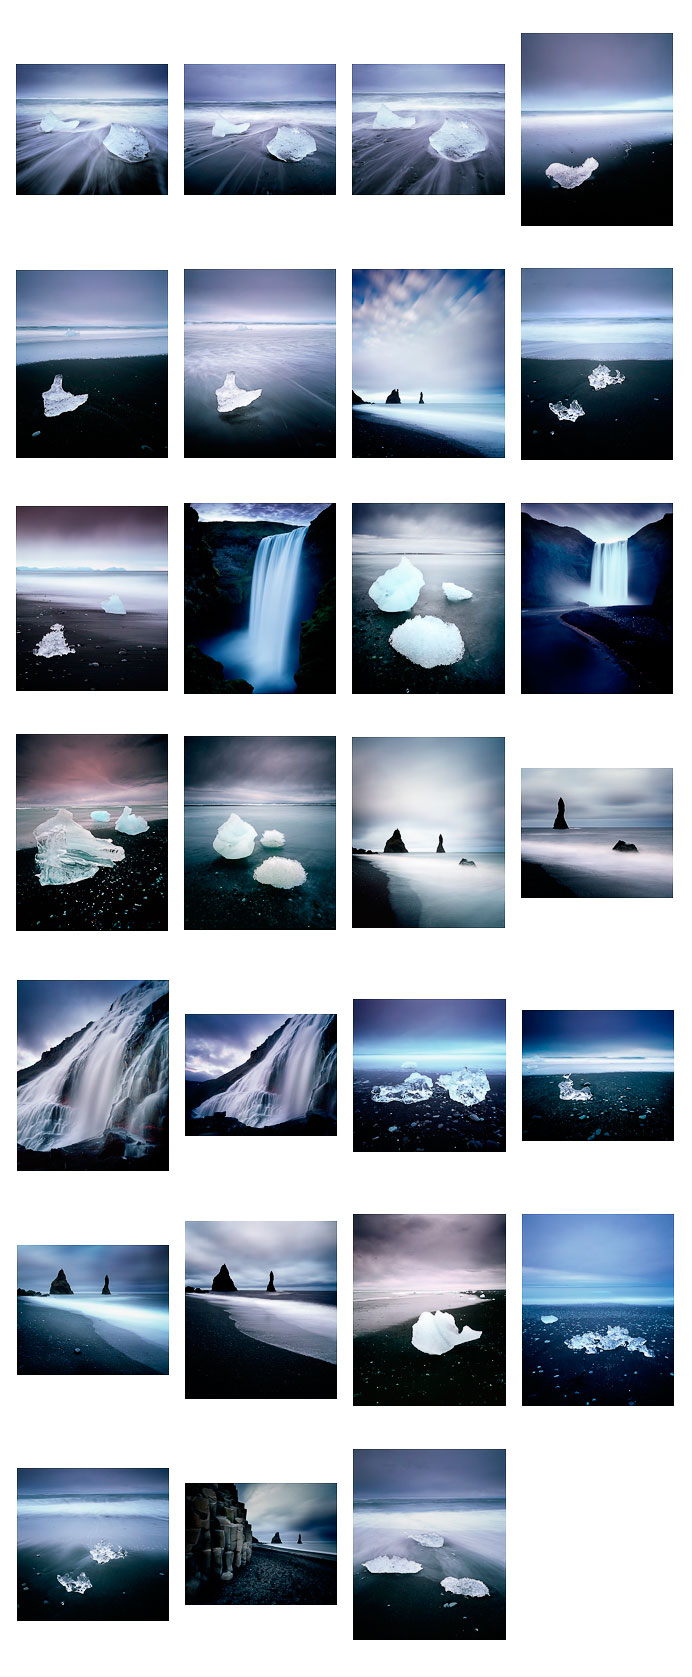
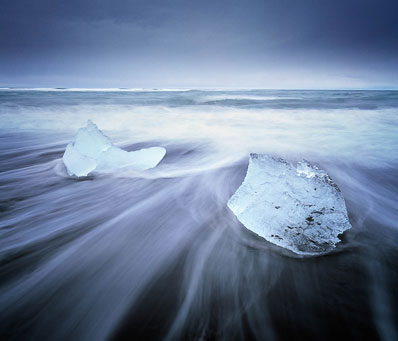
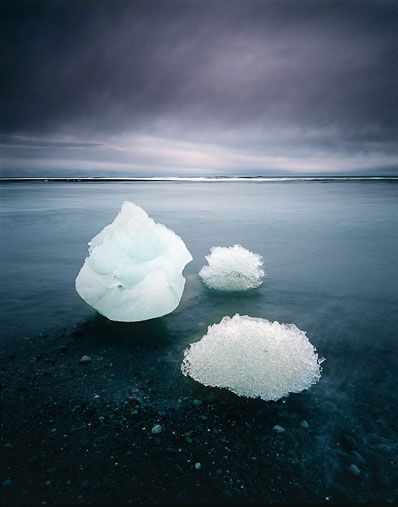
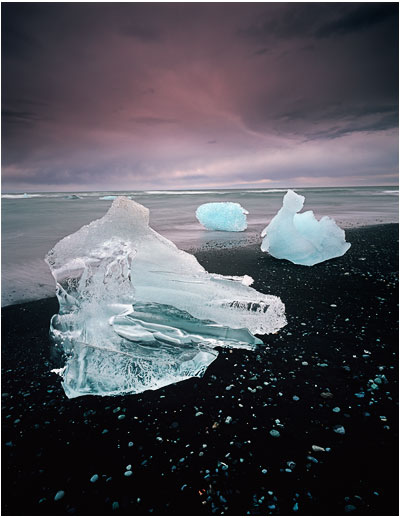
When I visited the black sand coast line at Jökulsárlón (glacial lagoon), in south east Iceland this June, I had a bit of a problem trying to figure out how to meter the scene.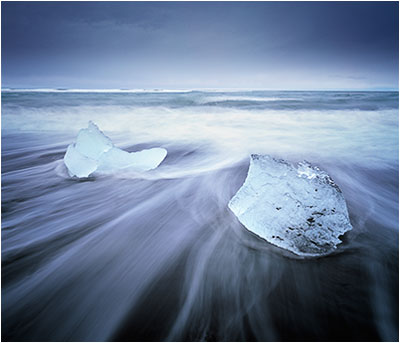 I've been a film shooter since the late 80's and feel I know my medium well. I use a Sekonic 758 meter at present (although I personally wish I'd not bothered, and stayed with the superb 608 meter instead). Both meters are fine, but the 608 allowed me to see at a snap the shutter speeds for all the meter readings I record (the meters allow me to take up to 9 different spot readings of a scene).
But every now and then, I come across a landscape I'm not sure just how to meter.
My usual technique is to meter the darkest area of the picture (usually the ground) and then meter the lightest area of the picture (usually the sky) and see how many f-stops there are between them (dynamic range). I know my film can handle around 4 to 5 stops of dynamic range, and that the real world often exceeds this. My Sekonic is a snap at telling me how much contrast there is in the scene and if it exceeds what my film is capable of recording, I will use an ND grad filter to reduce that dynamic range, so I can squeeze the scene onto my film without having any blown highlights, or blocked shadows.
But I have to set the exposure somewhere between the darkest and brightest parts of the scene. If I choose to set the exposure to the meter reading for the black sand, I will make the sand mid-grey. The same with the sky. If I meter the sky and use that for my exposure - I will make the sky mid-grey, and most probably seriously underexpose the black sand.
Using the zone system that Ansel Adams developed, I tend to go on the principle that if I want an object, such as the ice to be brighter than mid-grey, I will meter the ice, and then add 1 or maybe two stops. But in this picture, I simply looked at the dynamic range of around 5 stops and decided I needed to expose right in the middle. This would mean that the sand would be 2.5 stops below my exposure, and my ice and sky would be 2.5 stops above. I used a 2 stop hard grad to control the brightness of the sky, which meant that the sky and ground had a similar luminance, while the ice would be 2.5 stops over.
I wasn't sure at the time if I was getting it right. I just decided I had to go with my evaluations of the scene and prey that I'd not screwed up.
When I got home, I completely forgot to consider how difficult the exposures had been whilst at Jökulsárlón, because all the images came out beautifully exposed. This is a lesson in itself. We often don't question why an image worked. It's good to realise that what you did at the time of capture was correct, and learn from that. Conversely, the images that didn't work are just as important. Often, photographers quickly discard the images that failed, but so much can be learnt from them.
With my camera system, I sometimes forget I have a full ND filter on the camera, sometimes I don't take that into account when making my exposure. I'll sometimes see images where the exposure is so off, that it can't have been through bad judgement, but through bad practice. Workflow is everything. Get yourself organised and cut down any possible error when making images.

