

Darkroom On-line Joining Instructions
Step 1. Buy the Digital-Darkroom package
The Digital-Darkroom sessions include the Webinars. Before we can do the one-on-one sessions, it’s important that you attend the webinars, as this gives you the grounding you need.
Step 2. Register your Attendance for the Webinar(s)
You need to do the webinars first, as they cover the ground work for our sessions together. They are included in your package.
Walk through the ‘webinar Scheduling & Attendance instructions.
YOU MUST ATTEND THE WEBINARS FIRST.
Step 3. After you have completed the Webinars, Book a One-on-One session
Just follow the following steps:
Find your original e-mail order confirmation.
Click on the ‘schedule’ link (marked in red):

When you click on ‘Schedule’ you will see the following page:
Step 4. Choose your appointment type
In this case you want to double-click on the Digital Darkroom session (marked in red).
Once you double click on this, you will be taken to the following page:

Step 5. Set your time zone
In the bottom left (marked in red above) there is a ‘set timezone’. You need to set it to YOUR timezone.
This is because the appointment will be emailed to you in YOUR time zone.
Step 6. Choose the date
The calendar will appear (marked in red) and the dates that the respective webinars are available will be highlighted in bold. In the example below, the 18th of April is marked in bold. That is the available dates for the webinar that was purchased.
Choose a date that works for you.
A popup window will appear with the times available and a ‘continue’ option.

Select the time and press continue.
Step 6. Complete Attendance form
Please complete the attendance form with your name and email address. There are some checkboxes you need to tick - they are reminders about what you need to do before the session:
Press ‘complete appointment’.
Please ensure that all mandatory fields (with red asterisk) have been filled in.
Step 7. Confirmation
You should see a confirmation page:
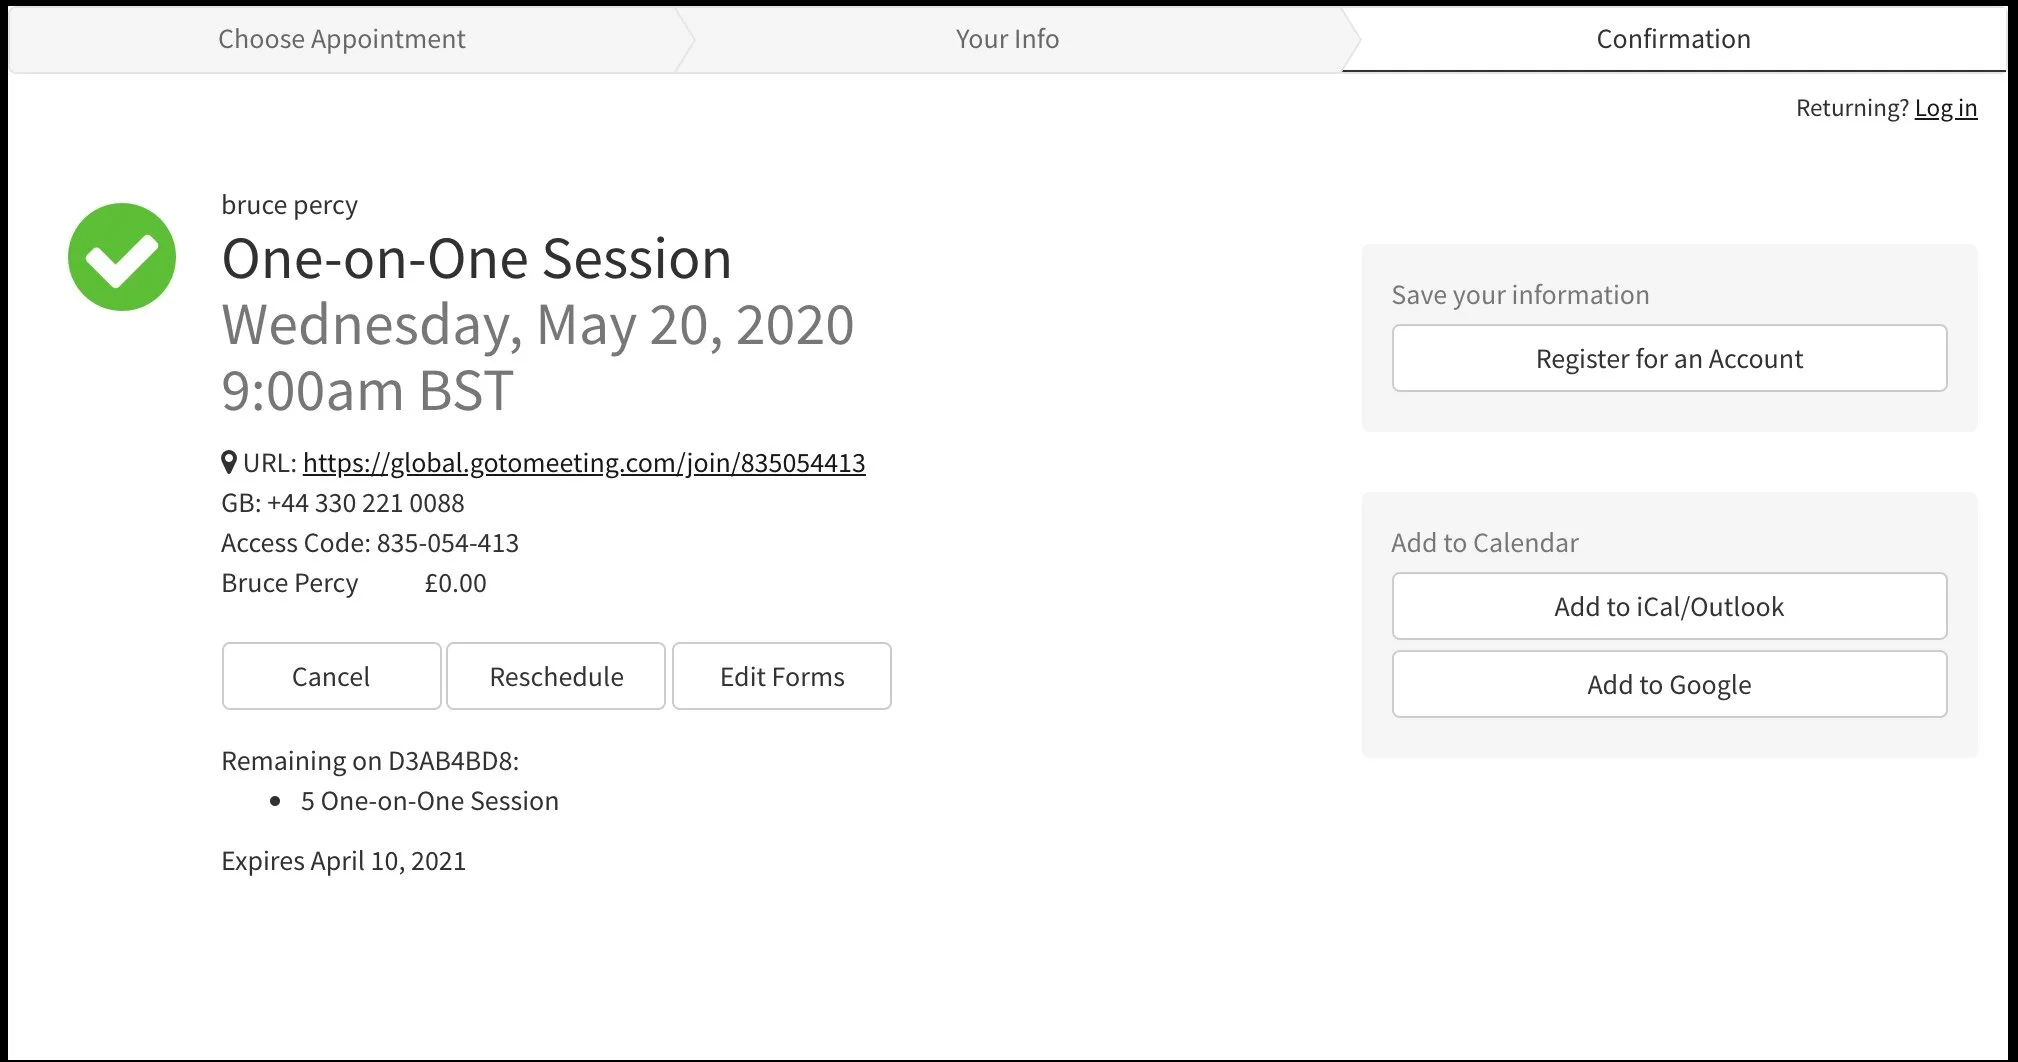
Once you have registered your attendance, you will be sent an appointment confirmation email:
Step 8. Confirmation e-mail
The confirmation email contains;
the session date and time.
the URL to access the GoToMeeting meeting.
Preparation notes for the session.
Change / Cancel appointment options.

This includes a link to the GoToMeeting webinar:

You can also change / cancel your appointment, and also add the event to your calendar:

Step 9. Get Prepared
Please read your confirmation email for the preparation notes for the session.
You need to set up some software, and you may need to prepare some images prior to the session.